Tutorial of DispCam for Windows
DispCam is a full-featured set of video downloading tool for Disney+ users that can help you download and save Disney+ videos in MP4 or MKV format with multilingual audio tracks and subtitles kept. Download the latest version for a try:
 DOWNLOAD Win
1. How to Register DispCam on Windows PC?
Step 1 Launch DispCam, then you will see a simple and concise interface.
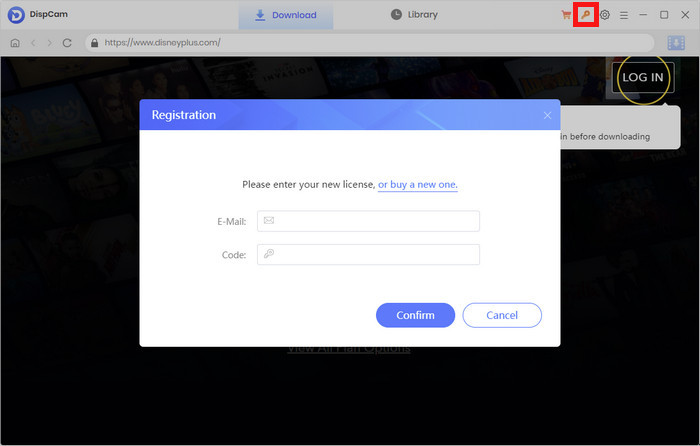
Step 2 Please click the Key icon ![]() or the Menu icon
or the Menu icon  > "Register". There will be a popup registration dialog, where you can copy and paste the registration email and license code.
Step 3 Copy and paste the E-mail and Code into the registration popup dialog.
Note: The registration information is case-sensitive. Please do not add any blank at the beginning or at the end of the registration e-mail and code.
2. How to Use DispCam?
 Read User Manual
Step 1 Run DispCam for Windows
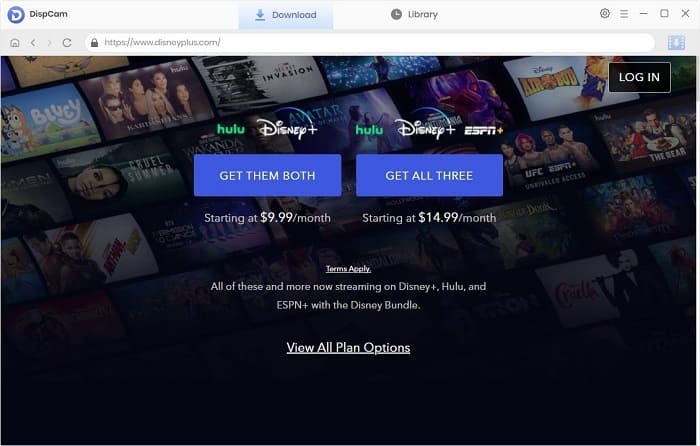
Download and install DispCam on your Windows PC. Run the program and click "LOG IN". There will be a popup window prompting you to log in to your Disney+ account.
Note: DispCam requires a valid platform account to access videos. Rest assured, DispCam only processes video data and never collects personal information, ensuring your privacy and security.
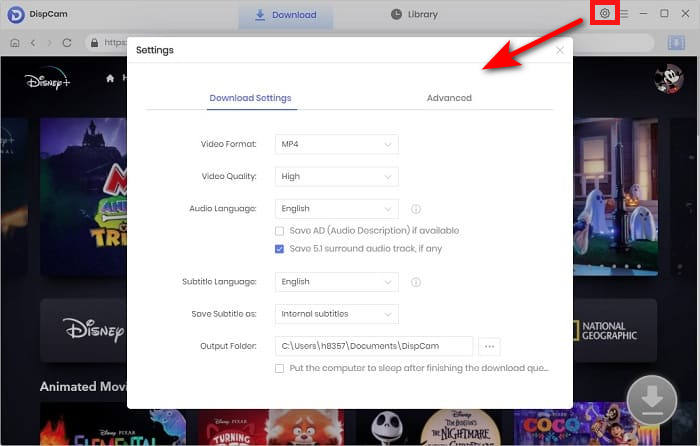
Step 2 Choose Download Settings
Click the "Setting" icon on the upper right corner to choose the output format (MP4 or MKV), output quality (High, Medium, Low), output path, audio and subtitles language, etc.
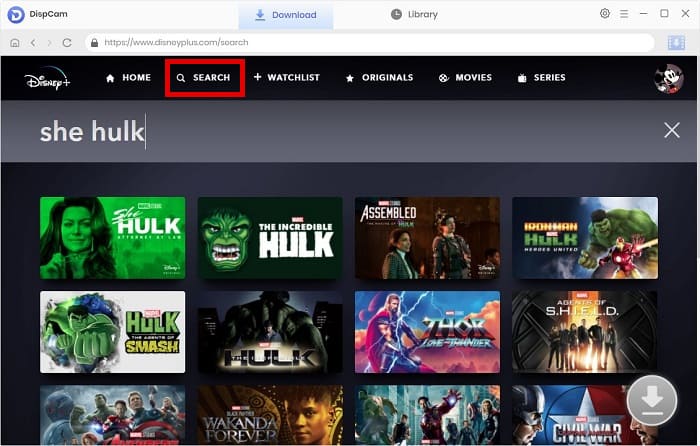
Step 3 Search for Disney+ Videos
Click the "SEARCH" tab in the navigation bar and enter the name of movies & TV shows, followed that the program will list the video or all of the related videos.
Click on the video's thumbnail and it will jump to the video's details page. At this time, the Download icon ![]() in the lower right corner will change from gray to blue. Only when the icon turns blue (available) can you proceed to the next step.
in the lower right corner will change from gray to blue. Only when the icon turns blue (available) can you proceed to the next step.
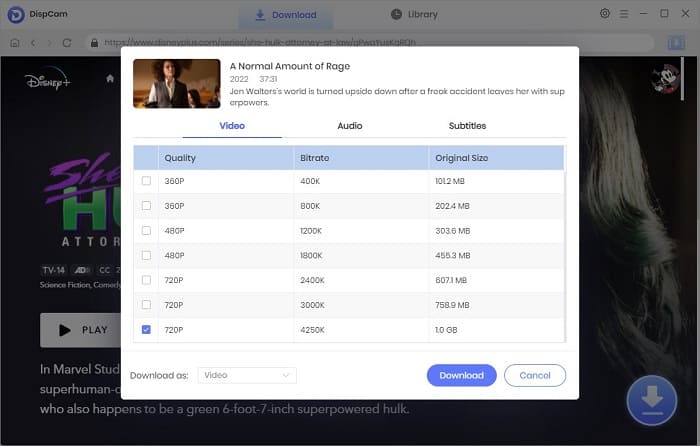
Step 4 Select Titles, Video Quality, Audio, and Subtitles
When downloading a movie, you can choose the video quality with specific size and bitrate and the languages of subtitles and audio tracks by clicking the "Download" icon.
If you are trying to download a TV show, simply click the Download icon, followed that a window will pop up allowing you to select titles as well as seasons. Then, click the "Advanced Download" button in the bottom left corner to open the advanced window.
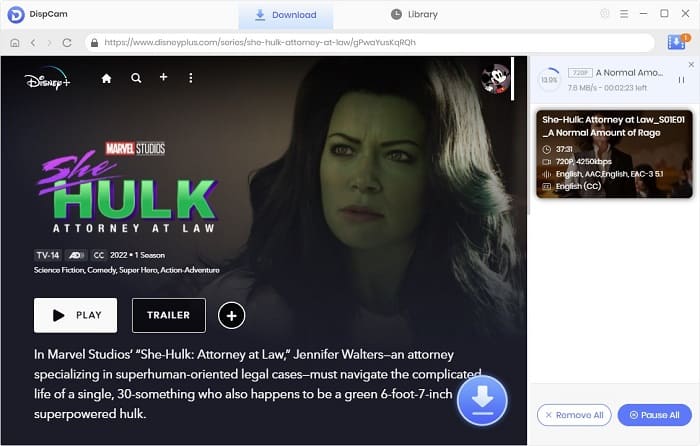
Step 5 Start to Download Disney+ Videos
Hit the "Download" button to start downloading the videos to the output folder you've chosen in the previous step. It is possible to continuously add new videos to the download queue. The video being downloaded can be seen in the panel on the right side.
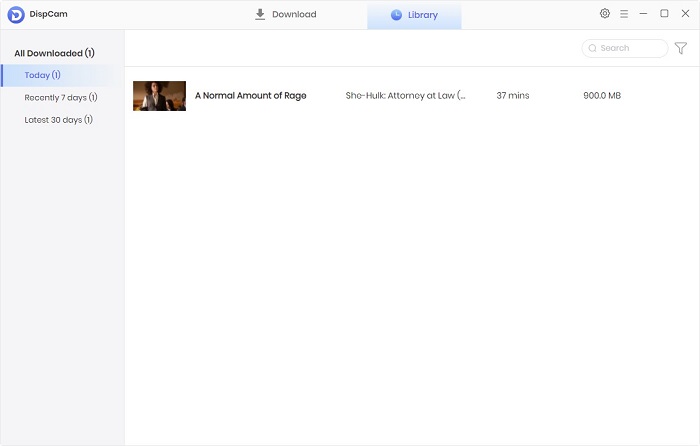
Step 6 Find the Downloaded Videos in Library
After downloading, go to "Library" to find the well-downloaded Disney+ videos on local drive. Now, you can freely enjoy your downloaded Disney+ movies and TV shows on any device!